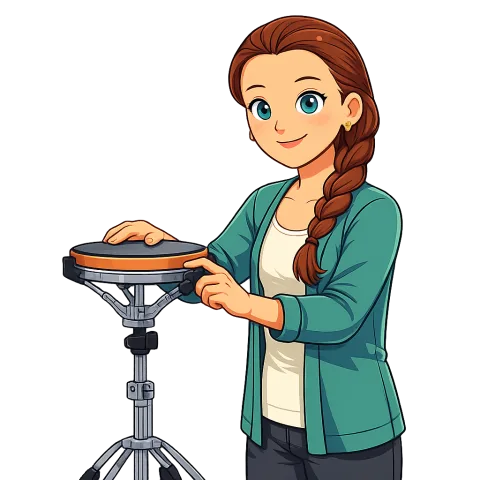
Setup is part of technique
A student cannot build a relaxed stroke while reaching for a surface that is too high, folding toward one that is too low, or twisting around a poorly placed stand.
Percussion instruments are shared and come in many sizes. The correct setup is not one height for the entire section.
Ask the instructor to help before changing unfamiliar hardware.
Begin with the musician
Stand or sit in the balanced position taught for the instrument.
Check:
- feet or chair provide stable support;
- shoulders can remain relaxed;
- elbows are not forced behind or far away from the body;
- wrists can approach the playing area without a sharp bend;
- the head can face generally forward;
- breathing remains easy.
Now bring the playing surface to that position.
Do not choose a height only because the previous player used it.
Adjust one piece of hardware at a time
Before loosening a stand:
- remove sticks, mallets, music, and loose objects;
- support the instrument or stand as instructed;
- identify the correct knob or clamp;
- make a small change;
- tighten it securely without forcing;
- test stability.
Some instruments are heavy, top-heavy, spring-loaded, or mounted on frames. Students should not lift, tip, or adjust equipment they have not been trained to handle.
Use an adult, another trained person, or an approved cart when required.
Find a usable playing zone
At a snare drum or pad, the hands should reach the assigned playing area without raised shoulders or collapsed posture.
At a keyboard instrument, check both low and high ends. The center may feel comfortable while the outer bars require leaning or locked knees.
At timpani, drum set, or a multi-percussion setup, test every required instrument rather than perfecting only the first one.
Small changes in angle and distance may matter as much as height.
Place the music where eyes can travel
The music stand should not force the neck downward or block the conductor.
Place it:
- close enough to read;
- high enough for an easy head position;
- outside the mallet or stick path;
- where page turns will not hit an instrument;
- where the player can see both notation and conductor.
Ask about large print, a second stand, lighting, or another approved format when the page is difficult to access.
Build a safe movement path
For multiple instruments, arrange the setup in performance order when possible.
Check:
- clear floor space;
- locked wheels where required;
- stable stands and pedals;
- no bags or cases in the path;
- implements within a comfortable reach;
- room to dampen one instrument before moving;
- no need to step backward blindly.
Walk the route slowly without playing.
The written rest must contain the movement. If it does not, the setup or assignment needs attention.
Test with quiet strokes
Play a few soft, slow notes on every surface.
Notice:
- shoulder lifting;
- repeated leaning;
- wrist bending;
- reaching with only one side;
- unstable hardware;
- visual obstruction;
- pain, tingling, numbness, or loss of balance.
Stop and report problems. Do not “warm up through” an unsafe position.
Adapt for the individual
Musicians may need:
- a different chair or stool;
- a riser or lowered stand;
- a support or grip recommended by a qualified teacher;
- a different instrument order;
- more movement time;
- seated rather than standing access;
- an alternate notation position.
The musical goal can remain strong while the route to it changes.
Avoid correcting another student’s body or moving their accessibility equipment without permission.
Reset shared equipment responsibly
After rehearsal:
- return stands according to program instructions;
- unlock wheels only when ready to move;
- store implements safely;
- report loose hardware;
- leave the area clear.
Good setup is almost invisible during performance. The player can see, reach, move, and listen without fighting the equipment first.