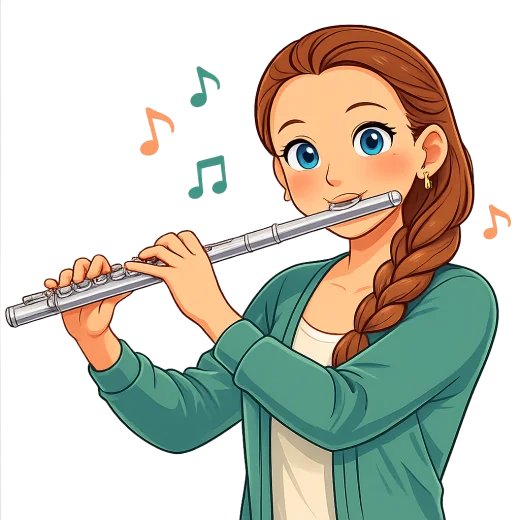
The flute asks air to cross an edge
A flute sound begins when air travels across the embouchure hole and meets its far edge. Blowing straight into the tube wastes air. Blowing far above it misses the edge.
The first goal is not a long, powerful note. It is finding the angle where a small stream of air begins to ring.
Use the head joint first
Follow the teacher’s setup. Hold the head joint without turning the crown at the closed end.
Place the lip plate under the lower lip with the embouchure hole centered. The lower lip covers part of the near side of the hole. Say a quiet “pooh” or “too” and direct the air across—not down into—the opening.
Try short sounds with a relaxed face. Rest before dizziness appears.
Make one tiny change
If the sound is only air, keep the basic setup and change one variable:
- roll the head joint slightly toward or away from the lips;
- aim the air a little higher or lower;
- make the opening in the lips slightly smaller;
- move the lip plate a tiny amount up or down.
Try again after each adjustment. Changing four things at once makes success difficult to repeat.
Find the edge, remember the feeling, then make the sound again.
Avoid the birthday-candle blast
More air is not always more flute. A large unfocused breath can produce extra hiss while making the student lightheaded.
Use a comfortable inhale and a narrow, steady stream. Imagine cooling a spoonful of soup rather than blowing out every candle across a room.
The shoulders should remain relaxed. If they rise with every breath, reset the posture and take in less air more calmly.
Explore the two head-joint sounds
With the open end uncovered, the head joint produces one pitch. Gently covering the open end with the palm produces a lower pitch.
Alternate between them:
- open end, short sound;
- covered end, short sound;
- rest;
- repeat with the same lip setup.
This lets a beginner practice changing pitch without coordinating the full flute’s keys.
Move to the assembled instrument carefully
When the head-joint sound is repeatable, assemble the flute exactly as the teacher demonstrates. Hold the smooth tubing rather than squeezing keys. Align the sections using the teacher’s visual references.
The full instrument may feel different. Return to the same air direction instead of adding force. Begin with an easy fingering and a short tone.
If the tone disappears tomorrow
That happens. Check the head-joint-only sound again. Look in a mirror to see whether the opening is centered. Dry excess moisture and make one adjustment at a time.
If every setup feels impossible, let the teacher inspect alignment, posture, and the instrument. A leaking pad or mechanical issue cannot be solved by using more air.
A first flute tone often arrives as one clear second inside a cloud of breath. That second is enough to begin: find it, rest, and learn how to return.