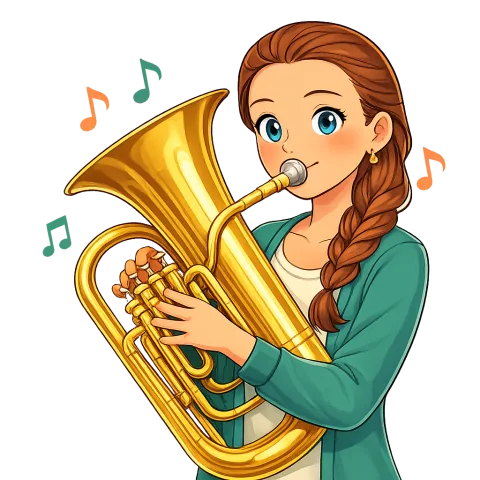
Repeatable matters more than impressive
A first euphonium or baritone sound does not need to fill an auditorium. It needs to begin comfortably, hold steady for a short time, and end without the player squeezing or running out of air.
One successful blast is less useful than three moderate sounds made with the same routine.
Use the instrument name, fingering system, and equipment terms taught by the program. Baritones and euphoniums are related, but their construction and school naming conventions can differ.
Fit the instrument to the player
Sit with balanced feet and enough room for an easy breath. Place the instrument so the mouthpiece arrives at the lips without the student bending far forward or lifting one shoulder.
A teacher may recommend a support, cushion, stand, or different holding angle. Use only approved equipment that keeps valves, slides, and tubing free from pressure.
The right hand should reach the valve buttons comfortably. The left arm supports the instrument as taught without gripping a movable slide or fragile part.
Solve the position before asking for a bigger breath.
Hear and prepare the note
Listen to the teacher’s starting pitch. Sing or hum its general area.
Form the beginning embouchure with lightly gathered lips and relaxed facial muscles. Follow the teacher’s instructions for mouthpiece placement; there is no need to copy another student’s exact lip proportions.
Take a comfortable breath that allows the body to expand. Avoid raising the shoulders or packing in so much air that the throat and chest become rigid.
Use a five-part first-note routine
1. Breathe
Inhale quietly and comfortably.
2. Begin
Send air through lightly vibrating lips. Use the teacher’s articulation syllable if the note should have a clear start.
3. Hold
Keep the sound for a short assigned count. Listen for a centered pitch and an even air stream rather than maximum volume.
4. Release
End at the agreed beat. Do not let the note collapse only because the air is gone.
5. Rest
Put the instrument safely in the lap or playing position and breathe normally. Rest at least as long as the note was played while learning the routine.
Compare one feature at a time
After two or three attempts, choose one question:
- Did each note begin at the intended time?
- Did the pitch stay in the same area?
- Did the tone remain open rather than pinched?
- Did the release happen on purpose?
- Did the body remain comfortable?
Do not try to fix pitch, volume, tone color, length, and articulation simultaneously.
If the note spreads or becomes harsh, reduce force before changing equipment. If it does not speak, check air, lip vibration, valve position, and instrument assembly with the teacher.
Add the first valve pattern
Once one open or teacher-assigned note is repeatable, choose a nearby note from the method book.
Finger both notes silently. Sing their direction. Play them separately, then connect them slowly.
Press valves fully and straight down. Allow each one to return completely. A half-pressed or sticky valve interrupts the tube path and can make a healthy sound suddenly fail.
If the valve does not move freely, stop and use the program’s care procedure. Do not force it.
Grow tone through listening
A warm sound is not created by making the lips as loose as possible or by blowing without control. It develops as the player learns to coordinate breath, vibration, articulation, pitch, and resonance.
Long tones, easy lip slurs, and simple melodies can all help when assigned in a comfortable range. Rest keeps those exercises productive.
Pain, dizziness, numbness, or swelling is a reason to stop. A first sound should feel like the beginning of a skill the student can build—not a test of how much pressure or air they can survive.